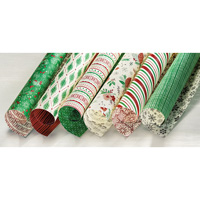
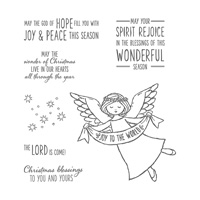
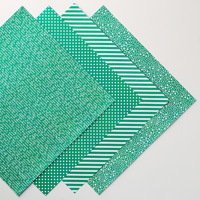
I love the classic beauty of this card and how quickly it comes together. I used a number of stamp sets to make it happen but really like how it turned out. The "This Christmas" Designer Series Paper really sets it off nicely.
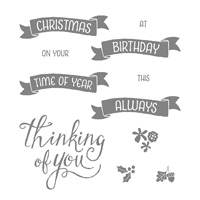
The "JOY" is from the Joyful Nativity stamp set, the "TO YOU" is from Perfectly Wrapped, the "Christmas" is from Time of Year, and the inside sentiment is from Wonder of Christmas.
CASED from Brian King.
I recently attended a card swap where I received a version of this card so of course I had to make one myself.
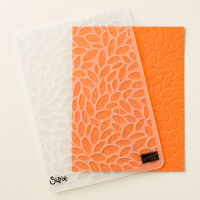
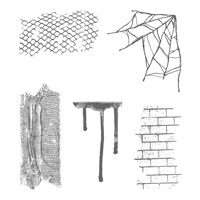
I ran a 5-1/4" x 4" Basic Black card stock piece through the Big Shot using the Petal Burst embossing folder. That was added to the front of the card using Stampin' Dimensionals.
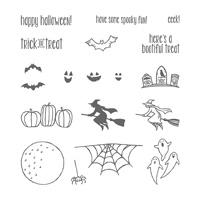
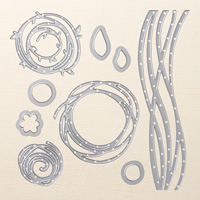
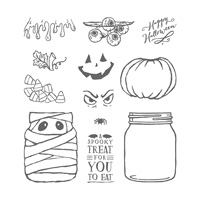
The pumpkins were cut out of Pumpkin Pie card stock using the Swirly Scribbles Thinlits. I colored the "stems" of the pumpkins using the Chocolate Chip marker and the Gold Wink of Stella. The tendrils were made using small strips of Garden Green card stock that I wrapped around a pen to give it the curly effect.
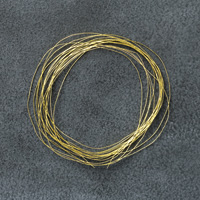
The sentiment is from the Spooky Fun photopolymer stamp set which is actually straight but the photopolymer allows you to curve the words before you stamp it to fit the Duet Banner punch. A little Gold Metallic Thread behind the sentiment really added some fun to it. The Pumpkin Pie piece behind the sentiment is from the center of the small small pumpkin cut out.
A few spiders on the inside finished off this card.
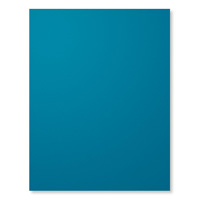
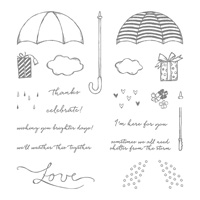
I was able to attend my sweet niece's baby shower this past weekend and this was the card that I made for her. She is expecting a little boy so I wanted to use the blue colors to celebrate her upcoming joy.
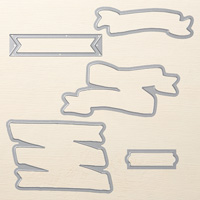
I had fun using the Umbrella Weather framelits to help pull this card together. With our great framelits it is so easy to get a nice cut to really give your projects a great look.
I stamped the smaller gifts twice, one on the Whisper White rectangle and then once again on scrap paper where I cut out the gift package and lifted it up with Stampin' Dimensionals. I stamped the larger gift in Dapper Denim and then colored the bow using the Peekaboo Peach marker.
I stamped the gift on the inside of the card too like I did for the envelope up above.
CASED from Chat Wszelaki.
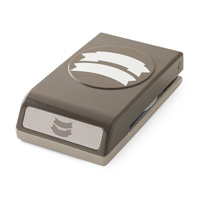
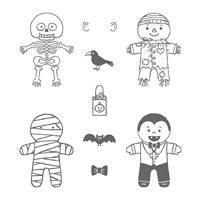
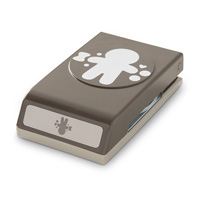
Aren't these little goblins adorable?!? When I saw them on line I knew I wanted to give them a try. The "dresser" legs are created by using the Decorative Label punch and punching just half way up the punch but through both the front and back of the card base at the same time. Sponging the edges of the dresser along with the drawers make them pop out a little more.
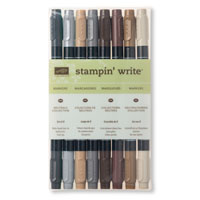
I used a blender pen to add come color to the little guys by coloring some of our markers on the imaging sheet that comes with our Stamp A Ma Jig and then grabbing some of that color off with the blender pens. I used So Saffron for the faces and eyes and Sahara Sand for shadowing the bodies.
Rhinestones make the dresser drawer knobs and add a little 'bling" to the project.
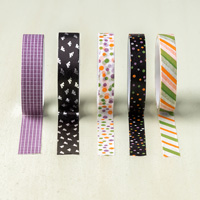
I used some of our Washi Tape from the Halloween Night collection and ran a strip of that along the bottom of the inside Whisper White cardstock to add more interest to the inside. Have fun making YOUR dresser drawers of goulish friends!
CASED from Connie Babbert.