Here is the card that I designed for this next month's card ministry at our church. It's just a fun little card letting people know that we're thinking about them.
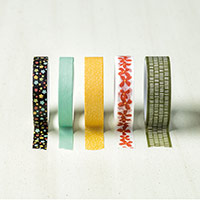
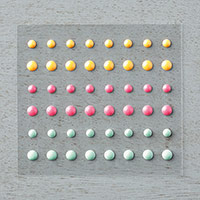
I started with our Mossy Meadow card stock and used the same color ink to stamp the little flower (that look like spots) on the two corners of the front of the card. I taped some of our Botanical Gardens designer series paper onto another piece of card stock, added the corresponding washi tape, stamped the sentiment from the Party Pants stamp set that was available during Sale-A-Bration in Mossy meadow and then attached it to another Whisper White card stock piece using Stampin' Dimensionals. The flower is punched with our Petite Petals punch and accented with one of our enamel dots.
And here is the sentiment that I chose for the inside to finish it off.
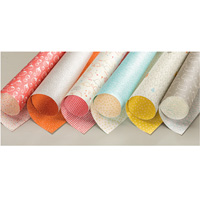
Today I was just having some fun putting together some fun things and this is what I came up with. I know our time with this Designer Series Paper is coming too quickly to a close and I want to use what I have.
I thought this was just a sweet little card for new parents as they bring in a new chapter into their lives.
I layered the Pool Party paper onto the Very Vanilla cardstock before adding the Designer Series Paper. This whole bit is raised up on Stampin' Dimensionals.
I sponged around the big circle (7th from the inside of the framelits) and also around the "clouds" that I punched out using our Cupcake Builder Punch. I drew in little stitches around the onsie using our Stampin' Write Marker.
Inspired by Kimberly Van Diepen.
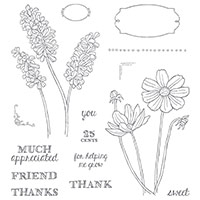
I started out making this card and wasn't sure what I was going to use as the sentiment as it could really be anything, but as I continued coloring the flowers it just felt like it was supposed to be a sympathy card so here you go...
I used a blender pen and Lost Lagoon ink to color the flowers and the Mossy Meadow ink for the stems. I love how using the blender pen gave the flowers different intensities of color - something I couldn't have done if I had just used a marker.
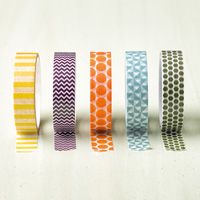
It was nice to have some washi tape that matched from the In Color collection to add a strip of that down the side.
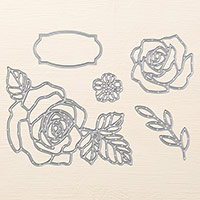
The sentiment, frame and framelit came from the Rose Wonder and Rose Garden collection.
And little bit on the inside to finish it off.
CASED from Connie Babbert.
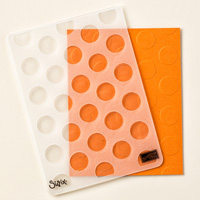
Here is a fun little card that could be used for many occasions. I ran the Melon Mambo cardstock through the Big Shot using the Large Polka Dot embossing folder then punched out 1/2" circles in Whisper White and added them into the debossed side of the Melon Mambo. Yup - there were 22 circles punched out - but I was able to use scraps for that so no biggie.
I used the 3rd from the middle Banner framelit to cut out the stamped banner then the 4th from middle Banner framelit to cut out the Basic Black banner.
I finished it off using our Candy Dots on the top of the frame.
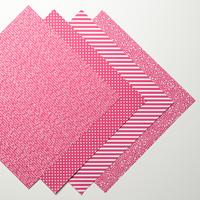
I used our Brights designer series paper to finish off the flap of the envelope. It seemed to match just perfectly for me.
To carry on the polka dot theme I added 3 Melon Mambo punched out circles on the inside of the card.
CASED from Robyn Cardon.