Here are the flowing 3 cards to complete the set from yesterday. Once again, I'm staying with the same stamp sets and template as yesterday but each card has its own look.
I love this scripture verse and think it's a great addition to a sympathy card. These can be so hard to write so it's nice to have something in them already.
I love the bright cheeriness of this color - Calypso Coral. I love that you can whip these cards together so quickly yet get such different cards out of them for different occasions.
And we are all blessed with such wonderful friends that we love to send cards to so this is just perfect for that.
This fits with the "something blue" theme of many weddings. And with wedding season coming up it's nice to have some of these on hand.
And once again - LOVE IT when we have a nice sentiment for the inside of the card. I hope you find time to make a few of these yourself. Check with my blog from yesterday if you want to know the dimensions to cut your paper as I have it all there for you.
CASED from LeeAnn Greff.
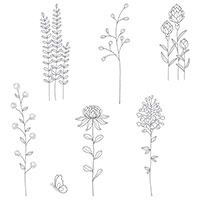
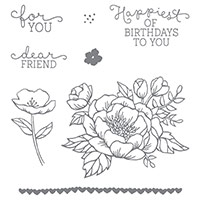
I love these set of cards I was able to make using the Flowering Fields stamp set and the words from the Rose Wonder stamp set. I continued with this basic design and made a set of 6 cards. I'll share 3 here today and my next post will have the other 3.
I love it when we also have words that we can add to the inside of the card to give it that finishing touch.
I was able to make each of these with the matching envelope and while they are really all the same, they all look different.
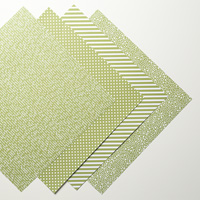
The designer series paper used for this was the Subtles Background paper so all of the flowers were colored in using the Subtles markers.
The Thick Whisper White card stock was cut at 5-1/2" x 8-1/2" and the stamped part was 3-1/4" x 4-1/4". The Basic Black was cut at 3-3/8" x 4-5/8" and the strip of Basic Black was cut at 4" x 1/4". The strip was flagged using the small banner punch. The Subtles Background designer series paper was cut at 3-1/4" x 1".
CASED from LeeAnn Greff.
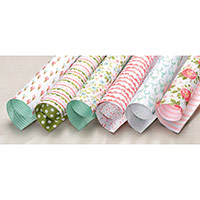
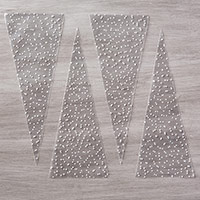
Here is a sweet card for that dear friend in your life. I always like to have some of these in my stash as I never know when I'll need a card quickly. I love how our designer series paper does all of the work for us - both as a focal image and also to decorate the flap of the envelope.
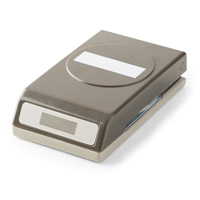
It's hard for the camera to pick up but I hope you can see the star of this show is actually our Simply Scored tool which added these neat stripes in the card. It's a fast and fun way to add interest to your card and bring out another look.
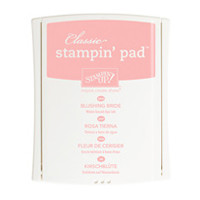
I stamped the sentiment and flowers in Blushing Bride ink and used the Melon Mambo marker to add the center of the flower and the Blushing Bride marker to add the little dots around the words.
CASED from Susan Itell.
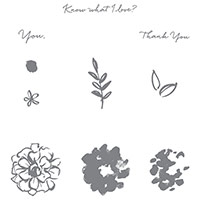
I love this little plump chick from the Honeycomb Happiness stamp set. And better yet, it's still free with the Sale-A-Bration deals that we have going on right now. The background on the Old Olive card stock was created by stamping the flower outline multiple times from the What I Love stamp set - another FREE stamp set during Sale-A-Bration. The Daffodil Delight background was made stamping the bold flower multiple times from the same stamp set. I love how we can get great backgrounds just by using our regular stamps! I stamped the chick twice. Once on the Whisper White card stock I was using for the card front, and another time on some scrap Whisper White paper. I used the same technique of stamping over the chick with the full flower stamp and then cut him out and attached him on top of the stamped image on my card front.using Stampin' Dimensionals. His little black and legs were colored in Tangerine Tango.

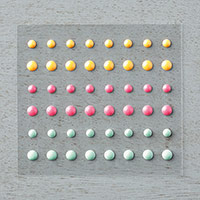
I stamped the little flower on more scrap paper, fussy cut that and added it to the banner and topped it off with one of our enamel dots. Love it!!
CASED from Brandy Cox.
Here is a little treat that I made for my daughter and her friends. I was hoping to buy some orange candy of some kind but after scouring 2 stores and coming up short I went with the jelly beans. Well - I guess you can't win them all. And anyway, I was running out of time...Yikes!
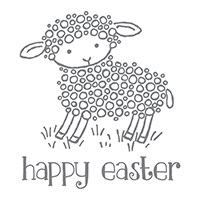
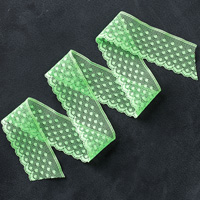
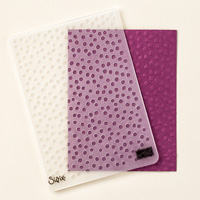
I was able to whip out the little tags pretty quickly. I used our Shimmery White cardstock and stamped the little lamb with StazOn ink. I used our Aqua Painters and reinkers to watercolor the grass and face of the lamb. This was punched out with our 2-1/2" punch. I stamped the greeting one more time and used our Washi Label punch to stamp that out and attached that with Stampin' Dimensionals. A quarter of a doily was added under the circle. I used our Scalloped Tag Topper punch to make the little tag in Cucumber Crush card stock and put that through the Big Shot using The Decorative Dots embossing folder.
It's kind of hard to pick up with the camera but I went over the body of the lamb with our Clear Wink of Stella to give it a little more pizzaz.
Have fun playing with your little Easter Lamb!