
So here are the basic directions. Start with card stock cut to 6-1/2" x 8-1/4".
On the 6-1/2" side, score it at 2", 3", 5" and 6".
Turn your card stock and score on the 8-1/4" side at 1/2", 1-1/2", 5-1/2" and 6-1/2".

Next you are going to cut on the scored lines and your project should look like this.

Now trim a little off of the "flap" that you will be making so it will close up nicer. It will look like this:

You will now insert the longer end of your 2" flap scalloped Tag Topper punch and punch it out.


Next you will want to use your bone folder and burnish all the scored lines to make it nice and crisp.

Now you will add sticky strip across the side flap so you can start to put your box together.

If you lay it down flat, you can bring around the larger part of the box and get a nice straight seal where your sticky strip is holding it together.

You can add sticky strip to the lower flap if you are putting something heavy in the box or leave it as is if you want to access stuff from the bottom of the bunny box.
Next you want to start building the bunny face. Starting with the nose, use your small heart punch and only use the bottom part of the punch to cut out the nose. I used Pink Pirouette from the Designer Series Paper Stacks from the Subtles Collection.

Using a small amount of mono adhesive glue, attach this over the hole that the tag topper left.

Put a glue dot under the flap and touch the glue dot a few times to make it less sticky so it will close the lid but not be so permanent the you will still be able to open the box where the face is.

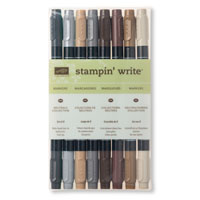
Now let's add the rest of the face. Using your Basic Black Stampin' Write Marker draw in some little eyes and whiskers.

Now - on to the ears. Using the scraps that you cut off of the 4 corners of the box earlier, cut out 4 large ovals. I used a retired punch - the smaller oval - to cut out the inside of the ears with the Designer Series Paper Stack. You need 2 of these. Sorry about the glare on the picture.

Using your bone folder, curl up 2 of the larger ovals to form your ears.

Now, glue the smaller ovals of the Designer Series Paper in the middle to form your ears.

Using mono adhesive glue, attach these ears to the back top of the box to give your bunny ears.

Now for the paws - lay the paws in the place you want them to be and then using your fingers, fold them back where the box edge is.

Now, glue down the side edges of the paws.

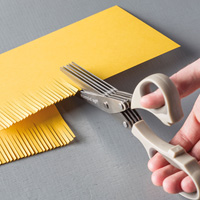
Now that your bunny is done, we have to create a bouquet for the cute little guy. This is where your fringe scissors will come in.

Cut into your paper just a few inches.

Using some linen thread, tie these fringes together.

Now you can cut that off and using glue dots, add them behind the bunnies paws.

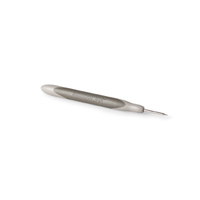
Now for the flowers - again, I used a discontinued punch from the Itty Bitty Shapes punch pack and cut them out using the Designer Series Pack again. I put them on a piercing mat and using the handle of my piercing tool pushed them into the piercing mat to help curl them up a little. Using glue dots I attach them to the top of the "stems".

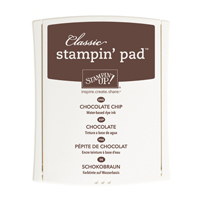
Last but not least, using the stamp from Teeny Tiny Wishes and Chocolate Chip Ink, I stamped "Happy Easter" onto some scraps of Whisper White card stock and using the Word Window punch punched it out. One more glue dot to attach it to my bunny and the project is done!

And here is my bunny with all his other bunny friends. I hope you can have as much fun making these as I did!

Here are the current items used to create these little guys.


No comments :
Post a Comment