Treat Container
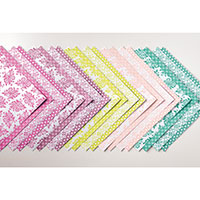
Here are some cute treat holders I made for my last Card Buffet to give away to my guests. They go together so quickly and you can make 6 out of one 12" x 12" piece of Designer Series Paper so that works out great.
As you can see in the "not so great picture" above, you just squeeze the top to open them - there is no glue to hold them shut but they stay closed just perfectly without any adhesive for that part.
Inside I had some mini Kit Kat bars and they fit in perfectly.
Here is what the bottom looks like so you can get the idea of the shape of this item.
So let's get started - begin with a piece of Designer Series Paper cut to 4" x 6". I'm using some Whisper White below just so it is easier to follow the directions. I'll also draw in the lines that just need to be scored so you can see them better. Obviously, your project will not have all these lines on them.
Start by scoring on the LONG side one end at 7/8".
Turn your paper and score two more lines all the way at 1/2" and at 2-1/4".
Next score two more lines - but this time ONLY to the horizontal scored line at 1-3/8" and at 3-1/8".
Cut out this little corner. We don't need him.
Cut the short scored lines to the horizontal line and also add Tear & Tape to the long flap on the right hand side.
Fold the flap down, bring the other side to match it and now you have a flat tube.
To make the curved end slide your paper from the side into the 2-1/4" circle punch.
Pull it through the hole and adjust it to the place you want to make your cut.
You'll end up with something shaped like this.
Now squeeze the end with the flaps and glue them down to each other. I found working from opposite ends worked well.
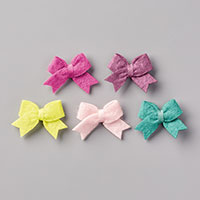
Add whatever embellishments you would like and you will end up with something like this. Have fun making your own!
CASED from Sam Hammond.


Great tutorial!!
ReplyDeleteMarty